

You can use the Cisco Webex Enterprise plan, which is a web conferencing solution in JAIST.
Function Overview:
a. Cisco Webex Enterprise plan.
b. Webex Meetings and Webex Webinar are available.
| Webex Meetings | Webex Webinar |
| General web conferencing | Online Events |
| Names and faces of participants are public. Free communication with each other. Multiple meetings and conversations can be held. Up to 1,000 people can participate. Meeting can be held by video conferencing system. |
Participants' faces and names are kept private. Viewers cannot speak freely and cannot share documents. The host can speak in one direction. Up to 3,000 people can participate. Events can also be broadcast via video conferencing system. |
c. Faculty members, researchers, regular students, and administrative staff of the JAIST can make conference reservations, and participants can be invited by e-mail, both inside and outside the university (* Please contact us for more information on available membership.).
d. It can be used freely in any environment with Internet access.
e. The program is a plug-in or application that runs on a Web browser and is automatically downloaded and installed, so there is no need for the user to configure it.
New features are added and existing ones are improved in the Webex service. Therefore, Cisco recommends that you use the latest version of Webex application.
Cisco related sites :
Webex | Update the App to the Latest Release
* The following explanation is based on version 41.9.
1. Install Webex App
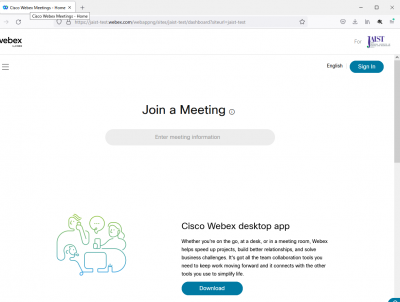
1) On the Webex service site, click the [Download] button in the area labeled "Cisco Webex desktop app".
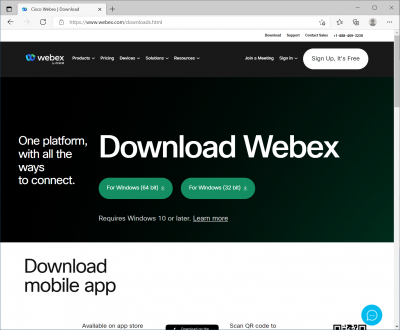
2) Download the installer of the application from Webex download site.
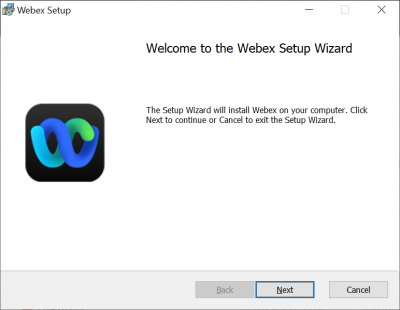
3) Double-click the downloaded installer to start the setup wizard.
4) Follow the steps of the setup wizard to complete the installation.
* It is recommended to use the application when using the Webex service. he Webex service can be used with a browser as described in the System Requirements, but the application is more stable.
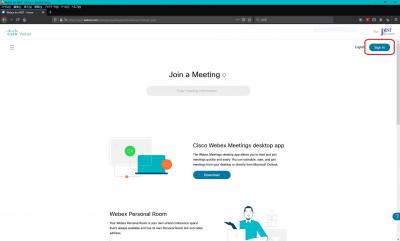
1. Access the Webex site
2. Click Sign in at the top right.
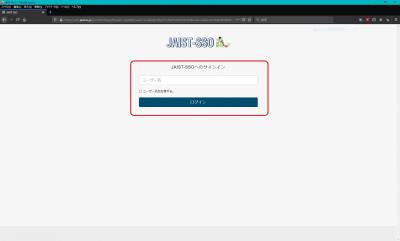
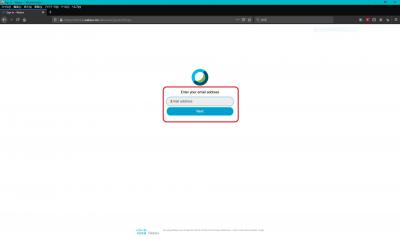
3. On the login page, enter your JAIST email address and select "Next".
4. Enter your JAIST account and password, and select "Login".
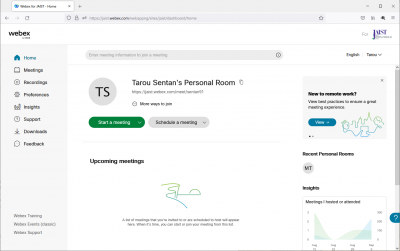
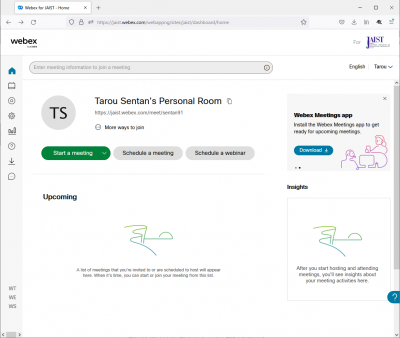
5. Once you have signed in, the home page will be displayed.
You can see JAIST logo and your name in the upper right corner.
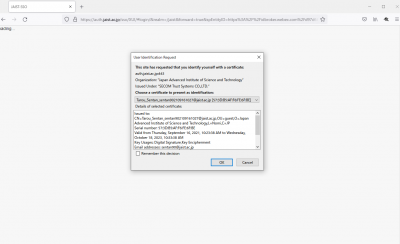
6. To sign in to the Webex service site from outside JAIST, you will need to present the JAIST client certificate or enter a one-time password.
6-1. If you have imported the JAIST client certificate to your PC
After entering your e-mail address, you will be asked to select the JAIST client certificate.
Please select an active JAIST client certificate from the drop-down menu.
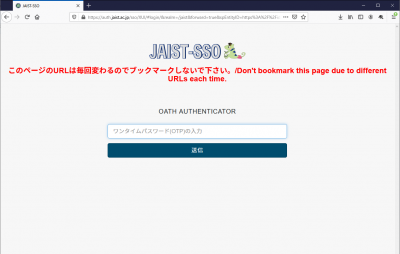
6-2. If you have not imported the JAIST client certificate to your PC
On the JAIST-SSO page, you will be asked to enter your one-time password after authentication with your account and password.
* Please refer to "Research Center for Advanced Computing Infrastructure" page for information on how to use the JAIST client certificate and one-time password.
* To schedule a meeting, you need to sign in to the Webex site.
* The meeting will not start until the host joins the meeting.
If the person who schedules the meeting and the person who starts the meeting are different, please be sure to register the person who starts the meeting in the "Invitees" column and designate the person as the co-host.
However, only those who have a JAIST e-mail address can be designated as a co-host.
1. Schedule from Webex app
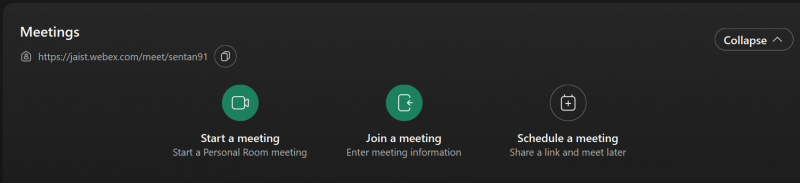
1) Click on the "Meetings" button to open the "Meetings" panel and select "Schedule a meeting".
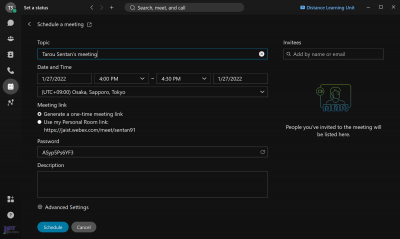
2) Enter the required information, and finally click the "Schedule" button to complete the schedule.
a. Topic
b. Date and Time
c. Meeting link
d. Password
e. Description
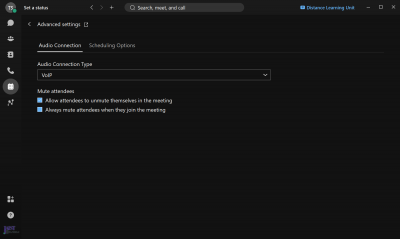
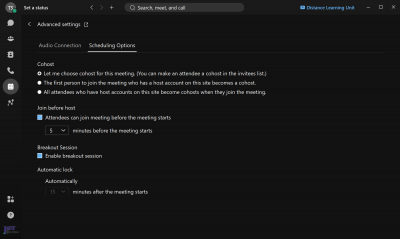
f. Advanced Settings
Audio Connection (Mute attendees etc.)
Scheduling Options (Breaout Session etc.)
g. Invitees
Enter the email addresses of the people you want to invite to your meeting (even if they are not from JAIST).
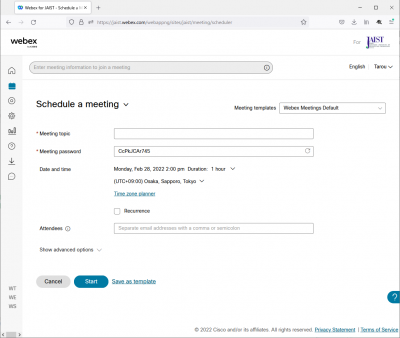
2. Schedule from Webex site
1) Click [Schedule a meeting] button on the home page, and select [Schedule a meeting].
2) On the "Schedule a meeting" page, enter the required information. Enter the [Meeting topic], [Meeting password], and [Date and time], and then you can schedule a meeting.
* If you want to configure more advanced options such as [co-hosts], [automatic recording], and [automatic lock], click [Show advanced options] button.
Please refer to the following page for more information about the options.
1. Join a Meeting with Webex App
Join from the meeting link, Join by meeting number.
1) Launch Webex app.
Sign in with your JAIST e-mail address.
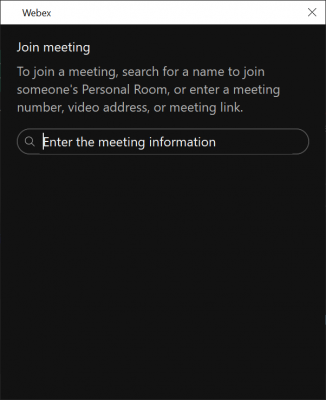
2) Click on the "Meetings" button to open the "Meetings" panel.
3) Select "Join a meeting" and enter the meeting information you want to attend, and join a meeting. Alternatively, the meeting list shows the meetings you have been invited to. You can also select and join the meeting you want to attend.
4) Click the [Join Meeting] button in the preview window to join the meeting.
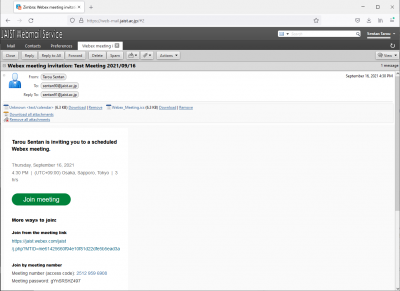
2. Join from "the webex meeting invitation"
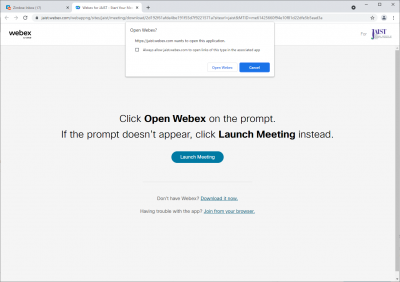
1) Click the [Join meeting] button in the email invite. Or, click the URL in the [Join from the meeting link].
2) "Open Webex ?" windows opens.
If you have already installed the Webex Meetings desktop application, click the [Open Webex] button.
If you are joining a Webex Meeting for the first time, or if you have never installed Webex Meetings desktop application, click the [Cancel] button once.
Then, install the Webex application according to the procedure "1. Install the Webex application".
After the installation is completed, join the meeting again from "the webex meeting invitation".
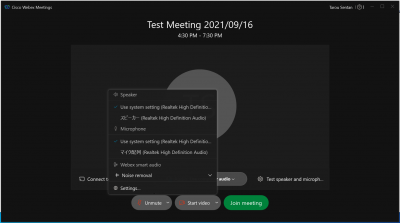
3) The Webex application will start and the preview window will appear.
Click the [Join meeting] button to join the meeting.
In the preview window, click on the [Unmute] drop-down menu to open the audio options menu, where you can select the speaker and microphone.
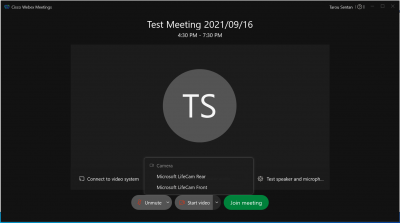
Clicking on the [Start video] drop-down menu will open the video options, where you can select the camera.
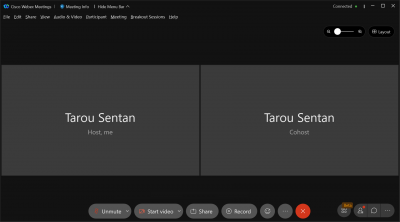
4) You are now ready to join the meeting.
Unmute and start video as needed.
You can share your PC screen, applications such as PowerPoint, and video content with meeting participants in a meeting.
* Please refer to the following page for details on share content.
Share content in meetings, webinars, and events(classic)
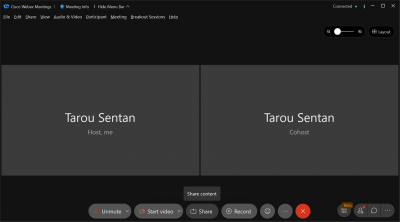
1. Click the [share] button at the bottom of the Webex Meeting.
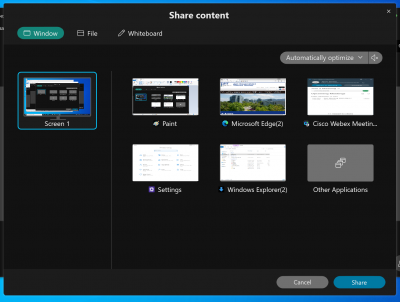
2. The [Share content] window will open.
If you want to share your PC screen, select the screen icon on the left side.
If you want to share only a specific application, select the application icon on the right side, and then click the [Share] button.
For the drop-down menu in the upper right corner, [Automatically optimize] is usually fine.
If you want to share the sound when you share the video content, click the speaker icon next to the drop-down menu and select [Share your computer audio].
If the speaker mark is not marked with an "X", the sound has been shared.
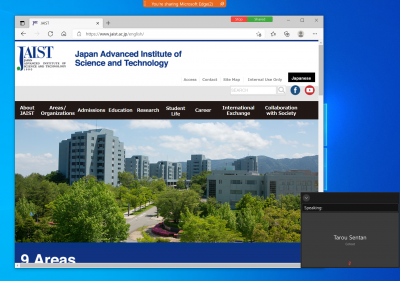
3. Share the content will be started.
sending contents)
When you are sending content, an orange message will be displayed at the top of the screen to indicate that you are sharing content.
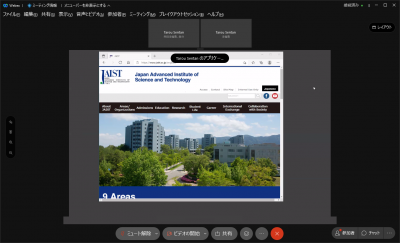
Receiving content)
When you are receiving content, the content will be displayed in a large size as the image on the left.
* You can change the screen layout by clicking the [Layout] button in the upper right corner.